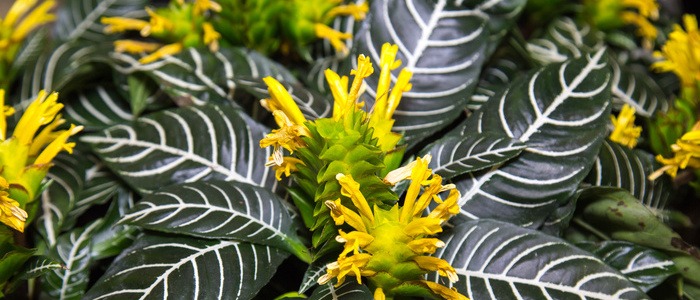
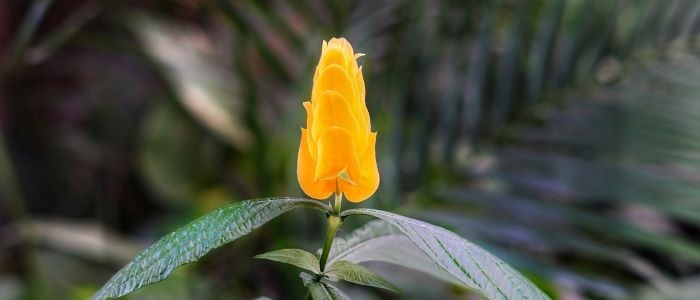
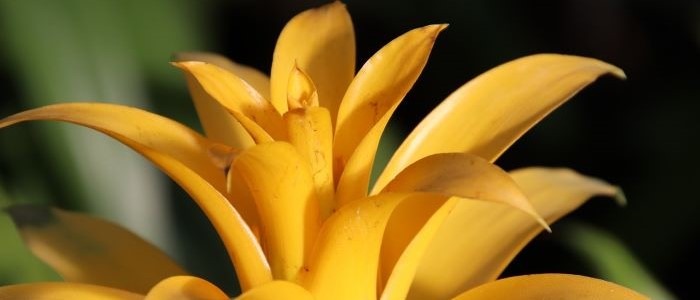
Yellow bromeliads are an impressive addition to any garden or flower arrangement. With over 3,000 species in the family Bromeliaceae, these plants are commonly found in tropical regions and can thrive in moist and humid climates. The leaves come in a variety of shapes, sizes, and colors ranging from green to yellow, and the flowers of bromeliads are often brightly colored and attract pollinators such as hummingbirds and butterflies.
Not only are they visually appealing, but they’re also low-maintenance plants that don’t require a lot of care to keep healthy and thriving. However, with so many varieties available, it can be difficult to choose which one is right for your specific needs. To make this decision easier, you should first consider where your bromeliad will live—indoors or outdoors—as well as the size of pot or container you plan on using for planting.
Once you’ve settled on a variety that suits your space best, it’s time to start planting! When planting bromeliads outdoors, ensure that you have access to plenty of sunlight—at least six hours each day is ideal—as well as good drainage soil. Indoors, make sure there is plenty of indirect light; bright sunlight may scorch the leaves! Additionally, be sure to water regularly throughout the growing season (spring through fall) but avoid
overwatering during winter months when growth slows down significantly. Bromeliads do not need a lot of fertilizer; adding some once every two weeks should suffice for most varieties. Bromeliads are also incredibly easy to propagate if you’d like more than one plant for your garden or home decor project! To do this successfully requires patience; cuttings should be taken from mature plants at least 6 months old with two rosettes on either side of the stem’s base.
Cut just below these rosettes with sharp scissors or a knife before removing all lower leaves from the cutting stem except for two at its very tip. Allow the cutting to dry out completely before planting it into moist soil where it will take root in about four weeks’ time! While caring for yellow bromeliads doesn’t require much effort beyond following basic guidelines such as watering and providing adequate sunlight exposure,
There are some potential problems worth addressing: overwatering can cause root rot while underwatering leads to wilting foliage; both pests and diseases can attack weakened plants so inspect them frequently; too much direct sun will burn their leaves while too little won’t allow them to grow properly; white scale insects can form colonies on their foliage if left untreated; lastly nutrient deficiencies can cause discoloration or poor growth so fertilize occasionally with liquid fertilizer high in nitrogen content during spring/summer months only.)
Yellow Bromeliad Plant Frequently Asked Questions
How often should I water my yellow bromeliad?
Bromeliads should be watered once every one to two weeks, allowing the soil to dry out slightly between waterings. It is important to ensure that the water does not collect in the center of the plant, as this can lead to rot. Checking the moisture level by sticking your finger into the soil is a good way to determine when it is time to water again.
What are the light requirements for bromeliads?
Bromeliads thrive in bright, indirect light. They should be placed near a window or in a well-lit area, but avoid direct sunlight as it can scorch the leaves. Providing them with the right amount of light will help them to maintain their vibrant yellow blooms and overall healthy growth.
Choosing the Right Bromeliad Variety for Your Garden
Choosing the right variety of Yellow Bromeliad for your garden is an important step to ensure a healthy and successful garden. When looking for the perfect bromeliad, you should consider its size and shape in its mature form, as well as how much light, temperature, and humidity it needs.
Additionally, think about how much time you are able to devote to caring for your bromeliad. Depending on the variety you choose, some require more maintenance than others.
Aside from the size and care requirements of each type of bromeliad, there are potential risks associated with certain varieties that you should be aware of before making your purchase. For instance, most bromeliads can suffer from root rot if they are over-watered or exposed to too much humidity.
If this occurs, it’s important to act quickly in order to save your plant. Other common problems include nutrient deficiency or too much/too little sunlight exposure. White scale insects can also be a problem in some cases so make sure you do research about any potential pests that could affect your chosen variety before buying it.
To ensure success with your yellow bromeliad, take the time to research what kind of environment it needs and determine if you’re able to provide those conditions at home before making a purchase. With careful consideration, you can find the perfect Yellow Bromeliad for your garden that will thrive with minimal effort on your part!
Planting and Caring for Yellow Bromeliads
Planting and caring for Yellow Bromeliads is relatively simple, but it does require some knowledge of the plant’s specific needs. When selecting a location for your bromeliad, choose one that gets bright, indirect sunlight and has well-draining soil. If you are using a pot, select one that is at least twice the size of your current plant and fill it with a potting mix specifically designed for bromeliads.
Watering your Yellow Bromeliad is also essential to its health. Water at the base of the plant rather than misting it from above; this will help prevent root rot and pest infestation. Allow all excess water to drain completely before refilling the container or pot. Water once every few weeks in hot months and less frequently during cooler months.
Fertilizing your yellow bromeliad regularly can keep them healthy and help them reach their full growth potential. Choose a fertilizer specifically designed for Bromeliads and dilute it according to package instructions; use this diluted solution every two weeks during active growing seasons. As your bromeliad grows bigger, you may need to re-pot it in larger pots with fresh potting mix every few years or when roots start coming out of the drainage holes in the bottom of the pot.
Finally, here are some tips and tricks for keeping your Yellow Bromeliad healthy and thriving: Keep an eye out for pests such as mealybugs or aphids, which may cause leaf discoloration; if necessary, treat them with insecticidal soap or neem oil spray.
Additionally, watch out for any nutrient deficiencies (such as iron deficiencies) which may cause yellowing leaves; if necessary supplement with fertilizer formulated specifically for bromeliads. Finally, make sure that your bromeliad has plenty of humidity to thrive—place it on a pebble tray filled with water or near other plants to increase humidity levels if needed!
How to Propagate Yellow Bromeliads
Propagating Yellow Bromeliads is a rewarding way to expand your collection of these stunning plants. There are several methods available, including division, offsets and seed propagation. Division involves carefully removing offsets from the parent plant with a sharp knife or scissors and planting them in well-draining soil.
Offsets form at the base of mature bromeliads; after drying for several days, they can be transplanted into an aerated medium with plenty of organic material. Finally, seeds require proper storage before planting shallowly in moist soil kept at around 70F (21C). Providing bright indirect sunlight during germination is also important for success – too much direct sun can cause scorching while too little will stunt growth progress significantly!
Regardless of which method is used, it takes time for propagation to succeed – up to 6 months for offsets and even longer (up to 1 year) for seeds. Regular watering combined with monthly fertilizing should help ensure healthier growth over time so you can enjoy the beauty of your Yellow Bromeliads!
Common Problems and Solutions When Growing Bromeliads
Growing yellow bromeliads can be a rewarding experience, but there are a few common problems to watch out for. The most frequent issues include pests and diseases, nutrient deficiencies, too much or too little sunlight, and improper soil drainage.
Pests and Diseases: Pests such as aphids, mealybugs, scale insects, and mites can cause damage to your bromeliad’s leaves and roots. Signs of an infestation may include discoloration or wilting of the leaves, spotting on the foliage or stems, webbing on the leaves or stems, and small bugs crawling around the plant.
To prevent pest infestations from occurring in the first place, it is important to provide appropriate levels of light and humidity. If you do find signs of pests or disease on your bromeliad plants, it is best to remove them right away before they spread further in your garden.
Nutrient Deficiencies: Lack of nutrients can affect a bromeliad’s growth rate as well as its overall health. Common signs of nutrient deficiencies include yellowing leaves with brown spots along the edges (nitrogen deficiency), dark green spots with yellow rings (iron deficiency), yellowing between veins (magnesium deficiency), and brown spots that appear on new leaves (manganese deficiency). Regular fertilization every 3-4 months is recommended for healthy growth.
Too Much/Too Little Sunlight: Yellow Bromeliads prefer bright but indirect sunlight for optimal growth. Too much direct sunlight will cause scorching of their foliage while too little light will prevent them from flowering properly or at all. The ideal location should receive 2-3 hours of morning sun daily in order to thrive without receiving any burn marks from heat radiation.
Improper Soil Drainage: Bromeliads do not like wet feet so having adequate soil drainage is essential for healthy growth. Make sure you are using well-draining potting soil when planting your bromeliad in a container as soggy soil can lead to root rot which will eventually kill the plant if left unchecked. Additionally, make sure not to over water your plant—only water when necessary!
By understanding these common problems when growing yellow bromeliads and taking steps to address them early on in their life cycle, you will have a better chance at keeping your plants happy and healthy throughout their lifespan!
Conclusion
Conclusion Congratulations on taking the time to learn more about Yellow Bromeliads! By now, you should have a better understanding of how to select the right variety for your garden, how to plant and care for them, how to propagate them, and common problems and solutions when growing them.
Remember that bromeliads require bright indirect sunlight and well-draining soil in order to thrive. Be sure to water regularly throughout the growing season, and watch out for pests and nutrient deficiencies. Propagating bromeliads is easy, but it’s important to provide adequate light and humidity levels during the process. With these tips, you can enjoy a thriving yellow bromeliad in no time!
For further reading on Yellow Bromeliads or other gardening topics, check out our blog or other related resources. Feel free to leave comments or questions below if you need any help with your own bromeliad journey. Thank you for taking the time to read this post!
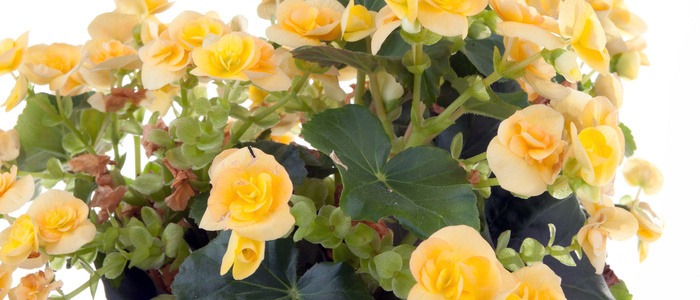
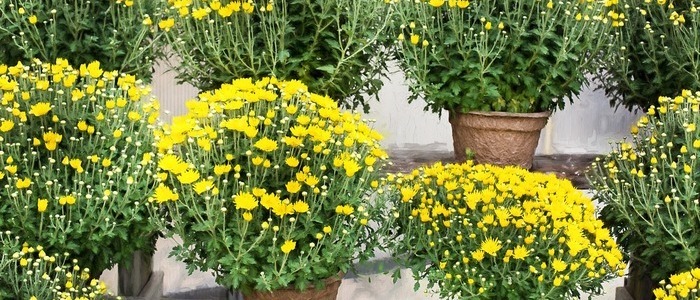
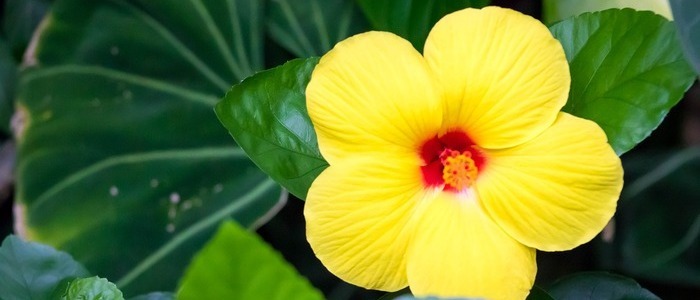
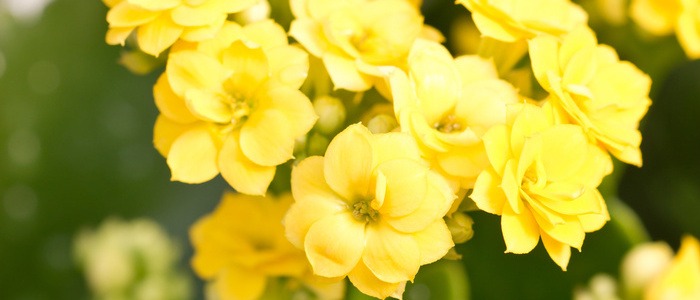
Other Yellow House Plants