When it comes to growing yellow orchids at home, the key is to provide them with the right care. Watering, fertilizing and repotting your orchid correctly are all essential for healthy growth. In addition, providing adequate humidity is also important for keeping your orchid in good condition. Let’s take a look at some of these important tips in more detail.
First and foremost, watering your yellow orchid correctly and consistently is essential for its healthy growth. Watering your orchid in the morning gives it time to dry out before nightfall. This helps prevent root rot which can occur if the soil remains too damp over an extended period of time. Additionally, fertilizing your yellow orchid with a balanced fertilizer once a month during the growing season will ensure that it has enough nutrients to thrive.
Repotting your yellow orchids every two years is also important for their health as this ensures they have enough space to grow and absorb nutrients from the soil. When repotting, make sure you use fresh potting mix so that there are no disease-causing organisms present that could harm your plant’s roots. It is also beneficial to provide adequate humidity for your yellow orchid by misting it daily or setting up a humidifier near the plant if necessary. This helps keep its leaves hydrated and prevents them from turning yellow due to excessive dryness.
Propagating yellow orchids can be done easily by dividing the plant into smaller sections and replanting each section into individual containers filled with fresh potting mix; this ensures each new plant has enough room and resources to grow successfully on its own. With these helpful tips in mind, readers will be able to confidently cultivate their stunning flowers in their own homes!

Yellow Orchids Frequently Asked Questions
Are there different varieties of yellow orchids?
Yes, there are also other species and hybrids that produce yellow flowers. Some examples include the Dendrobium spectabile, Cymbidium Golden Elf, and Brassia orchids. These various yellow orchids offer different shapes, sizes, and patterns, giving plant enthusiasts a wide range of options to choose from when adding a yellow orchid to their home collection.
Are the yellow orchids a popular choice with plant enthusiast?
Yes, the yellow orchid is quite popular among plant enthusiasts because, its unique color sets it apart from other common house plants. It definitely is a favorite among those looking to add a pop of vibrant color to their homes.
Understanding Light and Temperature Requirements
Growing yellow orchids indoors requires knowledge of their light and temperature needs. These plants thrive in bright, indirect light- such as the light found near windows. The ideal temperature range for these plants is between 65-85 degrees Fahrenheit; make sure to avoid cold drafts and sudden changes in temperature that can cause harm.
Humidity is also an essential requirement for the health of your orchid; if they are not receiving enough moisture, leaves will turn yellow. To provide a suitable environment for growth, consider using a humidifier and occasionally misting with lukewarm water to ensure easy absorption by the roots.
Fluorescent lights can aid in providing additional illumination to any areas where natural sunlight is lacking while avoiding intense exposure that could burn your plant’s leaves. With this information, you should have no problem creating an optimal environment where your yellow orchid can flourish!
Selecting Containers and Soil for Orchids
When it comes to growing yellow orchids as house plants, selecting the right container and soil is essential for success. It’s important to use a potting container with drainage holes, which can be made of unglazed clay or plastic, and should be the correct size for the orchid. This will ensure that your orchid has enough room to grow.
The potting mix should also be chosen carefully- it should be well-draining and contain plenty of organic matter. A good way to test if you have the right mix is by squeezing some in your hand- if it feels too wet, then you need to adjust the ingredients accordingly.
The pH of the soil should also be checked and adjusted if necessary. Yellow orchids prefer slightly acidic soil (pH 5-7). If your soil is too alkaline (pH higher than 7), adding sphagnum moss can help lower the pH level. On the other hand, if your soil is too acidic (pH lower than 5), you can add dolomite lime to raise the pH level. Testing kits are available online and in gardening shops to help measure and adjust pH levels more accurately.
When repotting yellow orchids, make sure that they have enough space in their new containers- generally this means moving up one pot size when repotting for optimal growth and development. If a larger container isn’t available, then use a smaller container but ensure that there is adequate drainage so that water doesn’t accumulate at the bottom of the pot after watering.
Before planting your yellow orchid into its new home make sure that all pots are thoroughly washed with warm soapy water before use; this will prevent any potential diseases from spreading from old plants into new ones. With these tips for selecting containers and soils, readers will be able to successfully grow yellow orchids at home!
How to stop Orchid Leaves Turning Yellow
Yellow orchids are a beautiful addition to any home, but their delicate nature requires special care. It is important to be aware of the causes of yellowing leaves and understand how to prevent them so that your yellow orchid can stay healthy and vibrant.
One common cause of yellow leaves in orchids is too much light. Direct sunlight can burn the foliage, leading to dry, discolored spots on the leaves.
To avoid this issue, make sure you provide enough shade for your plant by placing it near an east-facing window with sheer curtains or blinds that will filter out direct sunlight.
Watering too frequently can also lead to yellowing leaves in orchids as they are prone to root rot if overwatered. To ensure your plant is getting enough water without becoming soggy, stick to a regular watering schedule and only water when the top 2-3 inches of soil are dry. Additionally, use lukewarm water and allow the excess liquid to drain away from the root system before putting it back in its potting container.
Fertilizing with an unbalanced fertilizer can also cause yellowing leaves in orchids as they often require specific nutrients for optimal health. Use an orchid-specific fertilizer diluted at half strength every two weeks during the active growing season (spring through fall). This will help give your plant access to all the necessary minerals and vitamins it needs without overloading it with unnecessary chemicals which could damage its delicate system.
If there are any yellowed leaves present on your orchid’s stem, cut them off close to the base of the plant using sharp pruning shears sanitized with rubbing alcohol beforehand. This will help maintain its overall health and stop any diseases from spreading throughout its body.
By following these tips for avoiding common causes of yellowing leaves in orchids such as too much light, water, and fertilizer; providing necessary shade; watering only when soil is dry; fertilizing with a balanced fertilizer every two weeks; and cutting off any yellowed leaves close to the base of the plant – readers can successfully keep their yellow orchids healthy and vibrant at home.
!
How to Propagate Yellow Orchids
Propagating yellow orchids is simple with the right know-how. Two main methods of propagation are division and stem cuttings, both of which require sufficient light, temperature, and nutrition to ensure success. Division involves separating the old plant into multiple new plants when repotting; make sure each division has a few strong roots, as any weak or damaged ones should be discarded.
A soil mix of peat moss, bark chips, and perlite will provide adequate drainage and aeration for young plants. Stem cuttings involve cutting a healthy stem from an existing plant into sections with at least three nodes each before planting in a shallow container filled with moistened potting mix.
Place in an area that receives bright indirect sunlight and keep the soil lightly moist – watering once or twice a week depending on humidity levels. It can take up to six weeks for these cuttings to grow successfully! Fertilize every other month during active growth periods using an orchid-specific fertilizer diluted to half strength for best results. With patience and proper care yellow orchids will thrive!
Yellow Orchids Common Problems and Solutions
Growing yellow orchids as house plants can be a rewarding experience, but it is important to recognize and treat any problems that may arise. Common problems for yellow orchids include fungal and bacterial infections, insect infestations, and root rot. In some cases, these issues can be avoided by providing the right amount of water and fertilizer, as well as the optimal temperature range for yellow orchids.
Fungal and bacterial infections are typically caused by too much moisture in the soil or leaves, which can lead to leaf spots and discoloration. To prevent this problem from occurring, it is important to keep soil moist but not wet by watering in the morning with lukewarm water. If an infection does occur, apply a fungicide or bacterial remedy according to package instructions.
Insect infestations often occur when insects such as aphids feed on plant sap from leaf surfaces. These pests can cause yellowing of leaves and stunted growth if left untreated. Insecticidal soaps are effective against most common plant pests including aphids, mealybugs, scale insects, mites, and more. Be sure to read all instructions before applying any chemicals to your plants.
Root rot is another common problem for yellow orchids caused by overwatering or poor drainage in the potting container. Symptoms include yellowing foliage and soft roots that have turned dark brown or black in color. If root rot has occurred in an existing plant, it is best to remove affected parts while leaving healthy ones intact before repotting with fresh soil mix into a clean container with adequate drainage holes at the bottom.
To help avoid these common problems altogether, make sure you provide enough light (bright indirect near windows) and humidity (use humidifier/regular misting), stick to regular watering schedule (morning only), fertilize once a month during growing season (orchid-specific fertilizer), use lukewarm water when misting/watering plants/soil mix should be well-draining containing plenty of organic matter/adjust pH if necessary/thoroughly wash all pots with warm soapy water before use/provide temperatures between 65-85 degrees Fahrenheit).
Conclusion
Growing yellow orchids as house plants is a rewarding experience that can be enjoyed by gardeners of any skill level. With the tips provided in this blog post, readers will have the necessary information to successfully grow and maintain their yellow orchids at home. From selecting the right container and soil to understanding light and temperature requirements, readers now have all the tools they need for a successful growing season.
For those who wish to learn more about caring for yellow orchids, there are many resources available online, such as guides from gardening experts and forums where growers can share advice. Additionally, readers can leave comments and questions in the comment section of this blog post if they need help with any aspect of their own orchid-growing journey.
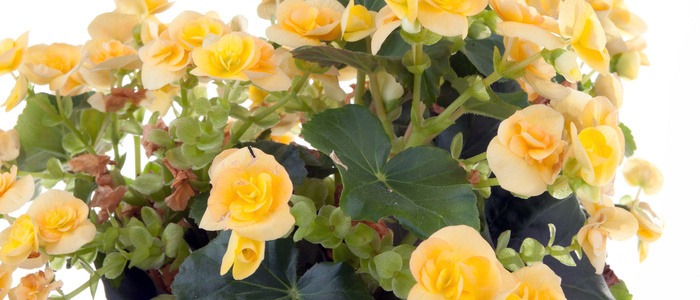
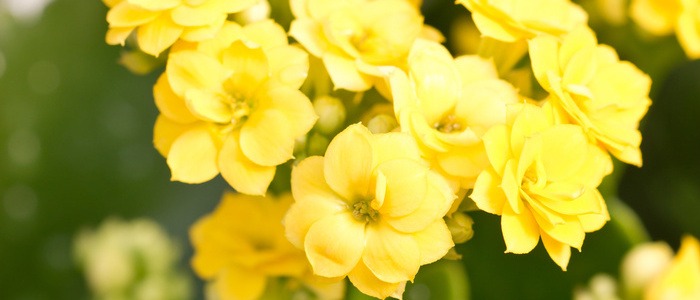
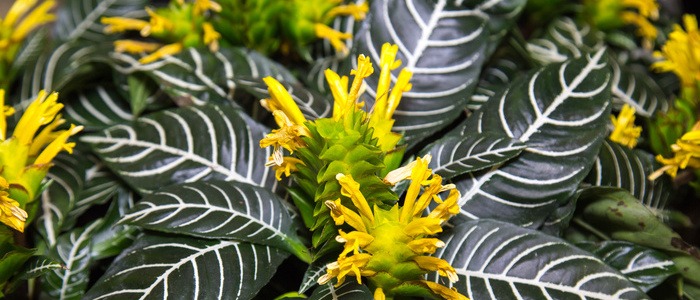
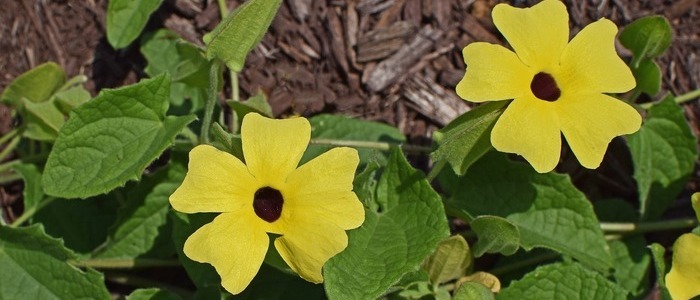
Other House Plants with Yellow Flowers